Prerequisites
- An Ubuntu 24.04 server with root access or a
sudouser. If you haven't noticed, we offer extremely reliable Ubuntu servers at the globe's absolute lowest price. Take a look at our offerings and prepare for your mind to be blown 🤯. - Access your sever via SSH, check out How to access your server using SSH for instructions.
Note
If you want to install Webmin in minutes without the hassle, try our 1-click Webmin application. Just choose one of our server, click Customize Your Own Server, go to the Apps tab under Select Server Image, and select Webmin—it’s that simple! On the other hand, if you want to do things yourself, keep reading.
Step 1: Update the Package Cache and Install the Required Packages
Before installing Webmin, update your Ubuntu 24.04 package list:sudo apt updatecurl and gnupg2:
sudo apt install gnupg2 curl -ygnupg2 is used to verify Webmin signatures.
Step 2: Install Webmin on Ubuntu 24.04
In short, to install Webmin on Ubuntu 24.04, you'll first add the Webmin repository that will enable you to install the Webmin packages and update them withapt. Then you'll update the package cache, and finally you'll use the apt install webmin command.
Download the Webmin Repository Setup Script
First, download the setup script and run it:curl -o setup-repos.sh https://raw.githubusercontent.com/webmin/webmin/master/setup-repos.sh
sh setup-repos.sh Downloading Webmin key ..
.. done
Installing Webmin key ..
.. done
Setting up Webmin repository ..
.. done
Cleaning repository metadata ..
.. done
Downloading repository metadata ..
.. done
Webmin package can now be installed using apt-get install --install-recommends webmin command.sudo apt updateapt .
Install Webmin
First, run the following command:sudo apt install webmin --install-recommendswebmin service status is active:
sudo systemctl status webmin● webmin.service - Webmin server daemon
Loaded: loaded (/usr/lib/syst
emd/system/webmin.service; enabled; preset: enabled)
Active: active (running) since Tue 2024-10-01 22:56:09 UTC; 2min 0s ago
Process: 14327 ExecStart=/usr/share/webmin/miniserv.pl /etc/webmin/miniserv.conf (code=exited, status=
0/SUCCESS)
Main PID: 14328 (miniserv.pl)
Tasks: 1 (limit: 9445)
Memory: 126.1M (peak: 203.4M)
CPU: 5.517s
CGroup: /system.slice/webmin.service
└─14328 /usr/bin/perl /usr/share/webmin/miniserv.pl /etc/webmin/miniserv.conf10000. You might need to allow this port through your firewall if it is not already enabled:
sudo ufw allow 10000/tcp10000 on your domain or IP address:
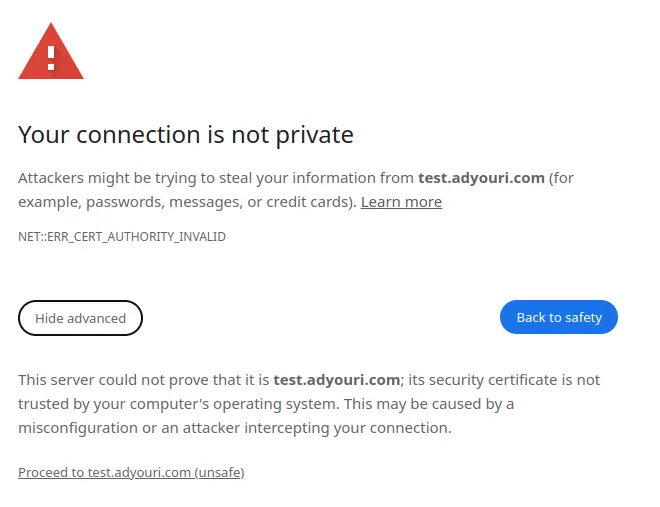
https://ip_address_or_domain:10000 Don’t worry, we’ll fix this later and install a Let’s Encrypt certificate to secure Webmin.
For now, just click the Advanced button or More information on your browser, and choose to proceed.
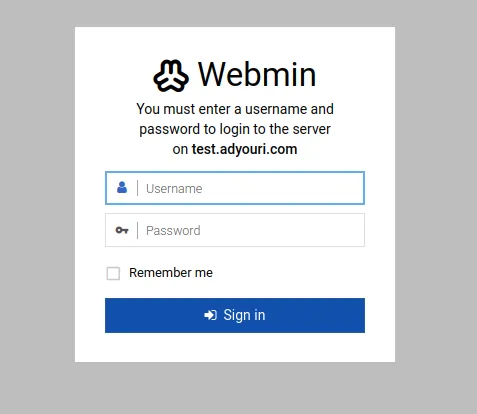
You’ll be moved to the Webmin Login page:

Webmin’s Default Password
The default password of Webmin is the same as your Unix username’s password. You can also use the root account of your server withroot as a username with the root’s password. Once you enter your credentials, you’ll be moved to the dashboard.
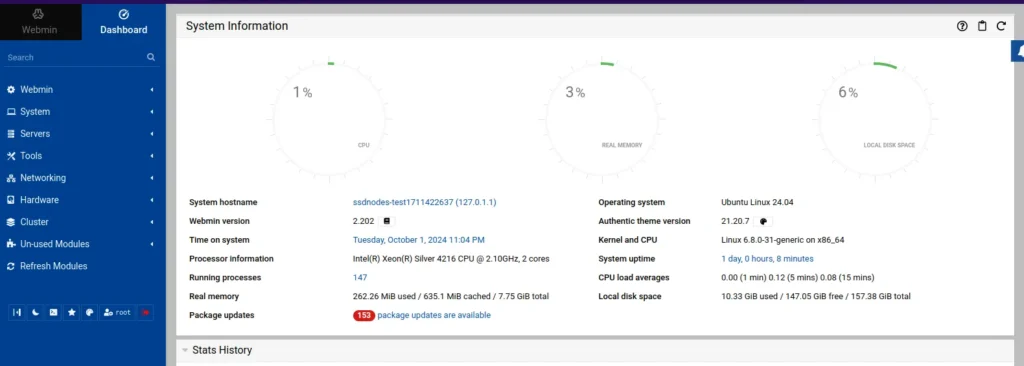
Webmin Dashboard
Here is the Webmin dashboard: In the navigation bar on the left, you have the following items:
- Webmin: The home page or dashboard of the Webmin interface.
- System: Options for managing core system settings, users, and services.
- Servers: Provides access to configuration and management of various server applications.
- Tools: Utility functions like a file manager, terminal, and system monitoring tools.
- Networking: Options for configuring
Continue reading this article
by subscribing to our newsletter.
Subscribe nowby subscribing to our newsletter.
A note about tutorials: We encourage our users to try out tutorials, but they aren't fully supported by our team—we can't always provide support when things go wrong. Be sure to check which OS and version it was tested with before you proceed.
If you want a fully managed experience, with dedicated support for any application you might want to run, contact us for more information.


