
Introduction
Zabbix is an open-source Linux management software that monitors the availability and performance of IT infrastructure components. Zabbix provides real-time monitoring of thousands of metric data from servers, virtual machines, network devices, and web applications. Analyzing the data Zabbix gathers will give you a general idea of the health of your servers and web applications, in addition to helping you detect potential problems before your users report them. To monitor a server and collect data from it, Zabbix uses an agent that gathers data from different services and sends it to the Zabbix monitoring server. Zabbix supports encrypted communication between the monitoring server and its monitored clients. This ensures that your data is transferred securely over the network. Zabbix provides a web interface that allows you to monitor your servers (also known as Zabbix clients) and their internal services and manage system settings.
Installing Zabbix on Ubuntu 24.04
To install Zabbix 7 on Ubuntu 24.04, you'll first download the Zabbix repository configuration package, install the Zabbix web frontend with MariaDB database support, Zabbix server, and Zabbix Nginx configuration packages. Next, you'll configure MariaDB for Zabbix, set up Nginx and PHP, then finish up your Zabbix installation through the Zabbix web interface.Note
If you want to skip all the technical steps of setting up Zabbix on your server and have it installed in minutes, then I have some great news for you! Our team of engineers has prepared a ready-to-use 1-click Zabbix application for your convenience. Just choose one of our servers, and while prompted to choose the operating system, choose Zabbix from the dropdown menu.Prerequisites
To follow this tutorial you need:- An Ubuntu 24.04 server with a non-root user with
sudoprivileges. If you haven't noticed, we offer extremely powerful Ubuntu 24.04 VPS servers at a bargain. Take a look at our offerings and prepare for your mind to be blown 🤯. - The LEMP stack (Linux, Nginx, MariaDB, and PHP) installed on your server. Use our Installing LEMP on Ubuntu 24.04 LTS guide to set it up. Or you can use our LEMP 1-Click App to set up LEMP automatically when creating a server.
- A TLS/SSL certificate, because Zabbix can access sensitive information about your infrastructure. Fun fact: All our 1-click applications (including LEMP and Zabbix) come preinstalled with an SSL certificate 🙂
sudo user.
Step 1: Installing the Zabbix Server
You first need to install Zabbix onto the server where MariaDB and Nginx should be already be installed. Zabbix offers installation packages for different Linux distributions. Zabbix can be found in Ubuntu's package manager, but it is outdated. To install the most recent stable version, use the official Zabbix repository. To download and install the latest Zabbix server, first get the Zabbix repository configuration package. This can be done by downloading theZabbix.deb file using the wget command. This .deb file will be used to add the repository.
Run the following command:
wget https://repo.zabbix.com/zabbix/7.0/ubuntu/pool/main/z/zabbix-release/zabbix-release_7.0-2+ubuntu24.04_all.debdpkg command:
sudo dpkg -i zabbix-release_7.0-2+ubuntu24.04_all.deb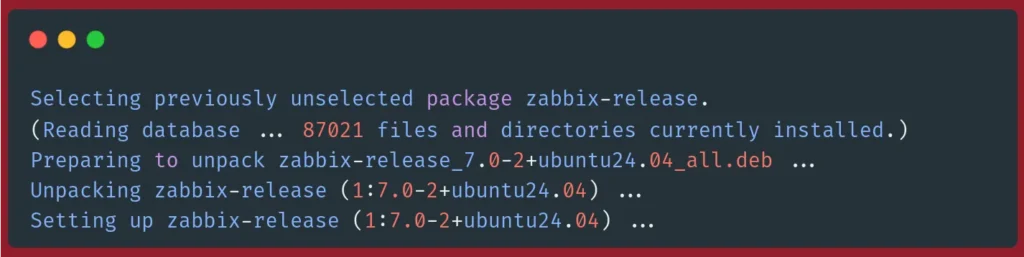 Next, refresh the package index to use this new repository:
sudo apt update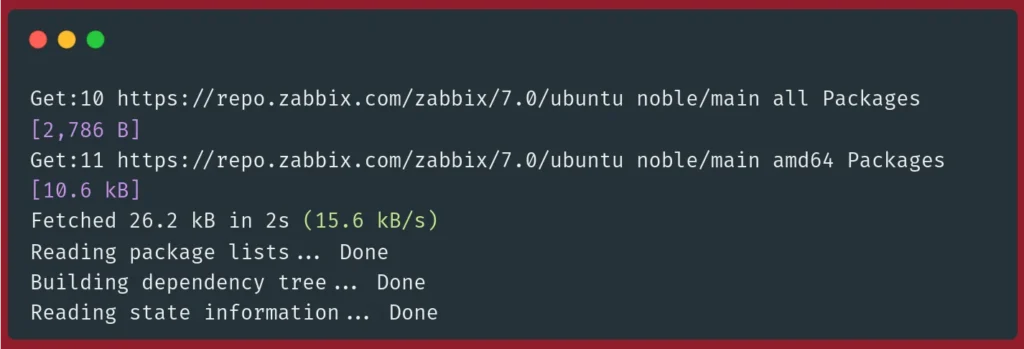 We are now able to install Zabbix after our server has been updated.
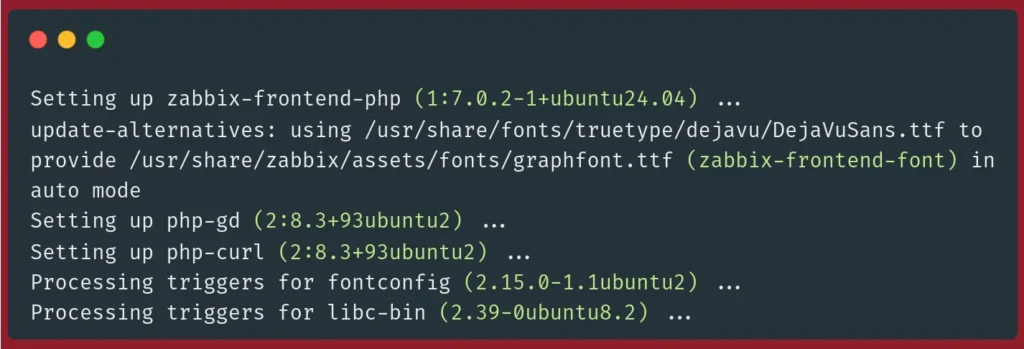
Next, we will install the Zabbix web frontend with MySQL database support and the Zabbix server. Note that we will be using MariaDB, but because its compatible with MySQL, you can just install the MySQL packages and they will work as expected:
We are now able to install Zabbix after our server has been updated.
Next, we will install the Zabbix web frontend with MySQL database support and the Zabbix server. Note that we will be using MariaDB, but because its compatible with MySQL, you can just install the MySQL packages and they will work as expected:
sudo apt install zabbix-server-mysql zabbix-frontend-php zabbix-sql-scriptszabbix-server-mysql: Adds MySQL/MariaDB support to zabbix.zabbix-frontend-php: The PHP Zabbix web interface.zabbix-sql-scripts: Zabbix SQL scripts that will create the Zabbix database and its tables.
 Finally, install the Zabbix Agent, which allows you to collect data about the Zabbix server status.
sudo apt install zabbix-agent To use Zabbix, you must first set up a database that stores the data the Zabbix server will gather from its agents (also known as Zabbix clients). This is the next step.
Step 2: Configuring MariaDB
To configure Zabbix with a functional database, you will need to create a MariaDB database and fill it with basic information. To ensure that Zabbix doesn't log in to your MariaDB database using the root account, you will also create a unique user for this database. To create a MySQL/MariaDB database, use themysql client to connect to MariaDB and access its command line interface with the following command:
sudo mysqlContinue reading this article
by subscribing to our newsletter.
Subscribe nowby subscribing to our newsletter.
A note about tutorials: We encourage our users to try out tutorials, but they aren't fully supported by our team—we can't always provide support when things go wrong. Be sure to check which OS and version it was tested with before you proceed.
If you want a fully managed experience, with dedicated support for any application you might want to run, contact us for more information.