

Note
Need a quick setup? Deploy our 1-click LAMP stack by selecting LAMP from the OS menu when creating your server. For manual installation steps, continue reading below.How to Install LAMP (MariaDB) on Ubuntu with Let's Encrypt
To Install LAMP on Ubuntu 24.04 with MariaDB and Let's Encrypt, you'll first set up MariaDB, configure the Apache server, install PHP, and verify your installation with a test page. You will then secure your installation with Let's Encrypt SSL using Certbot. This setup ensures a secure environment for hosting dynamic web applications.Prerequisites to Installing LAMP on Ubuntu 24.04
- You'll need an Ubuntu 24.04 server with
sudoprivileges. Looking for the perfect server? Our Ubuntu VPS combines industry-leading performance with unbeatable prices, backed by enterprise-grade reliability. Take a look at our deals and prepare for your mind to be blown 🤯.
sudo user.
Step 1 - Update The Package Cache
Before you install LAMP on Ubuntu 24.04, start by updating the packages in the package manager cache to the latest available versions using the following command:sudo apt update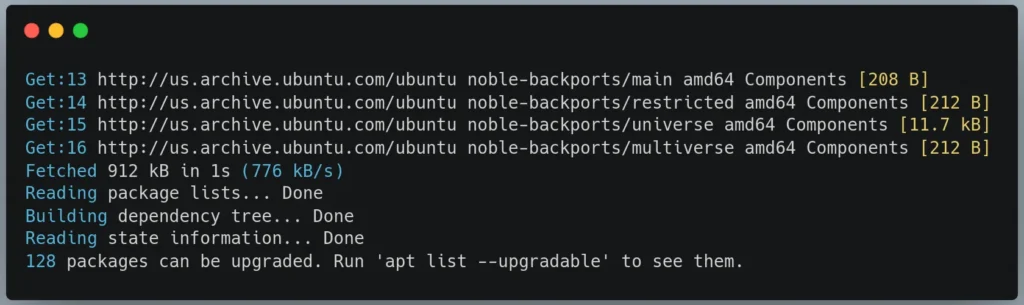
Step 2 - Install MariaDB, The Database Component of LAMP
After you update your packages, we'll install the MariaDB database server, the M in our LAMP stack. We've chosen MariaDB over MySQL for its advanced features, enhanced storage engines, and superior performance capabilities. This modern database will serve as the foundational data store for your dynamic LAMP web applications. To install MariaDB, execute the following command:sudo apt install mariadb-server mariadb-clientmariadb-server: The MariaDB database server which actually stores data.mariadb-client: The MariaDB database client which allows you to interact with and manage the database server via the command line.
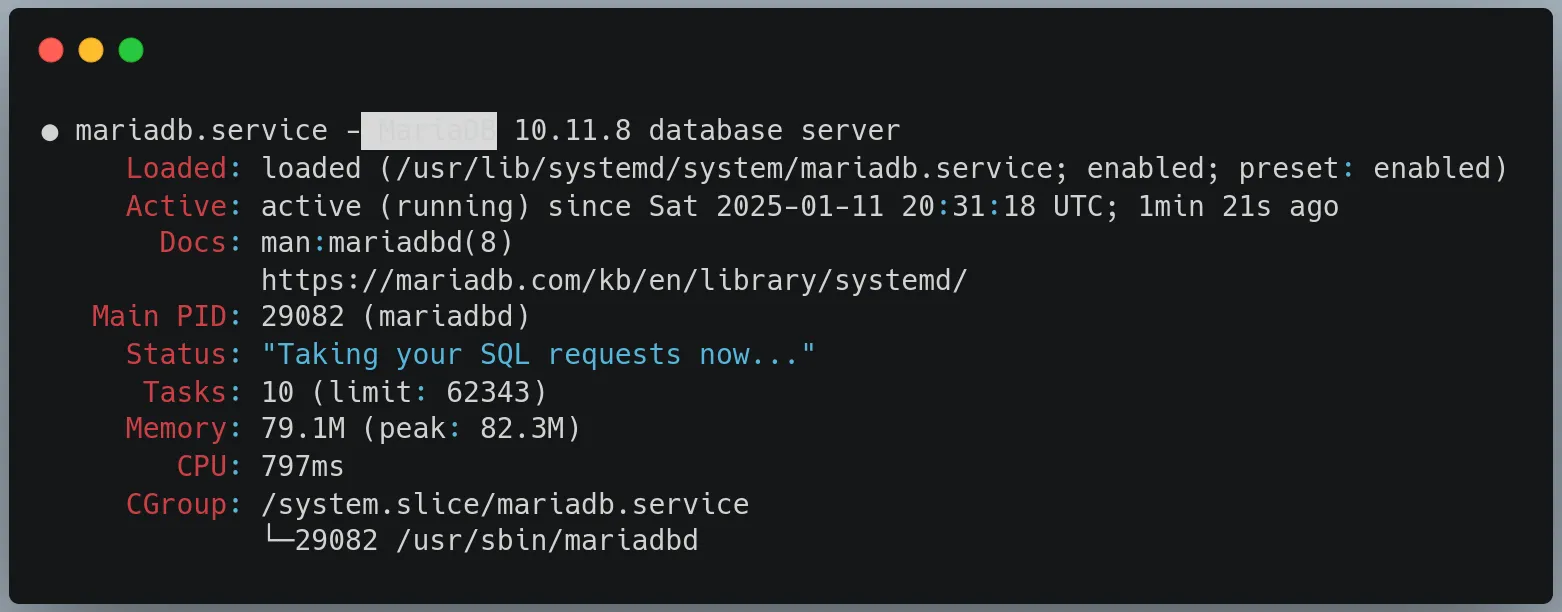
mariadb --versionmariadb Ver 15.1 Distrib 10.11.8-MariaDB, for debian-linux-gnu (x86_64) using EditLine wrappersudo service mariadb status"Active: active (running) ...".
Make MariaDB Start at Boot
Enable MariaDB to automatically start whenever your system boots by running thesystemctl enable command:
sudo systemctl enable mariadb.service
Securing The MariaDB Database Server
When you install LAMP on Ubuntu 24.04, securing MariaDB is a crucial step. By default, MariaDB's settings may leave your database vulnerable to security risks. Let's strengthen your database security by running MariaDB's built-in security script, which guides you through essential security configurations. Later, we'll also secure your web traffic with Let's Encrypt SSL certificates. To begin the security hardening process for MariaDB, execute themysql_secure_installation script:
sudo mysql_secure_installationNOTE: RUNNING ALL PARTS OF THIS SCRIPT IS RECOMMENDED FOR ALL MariaDB
SERVERS IN PRODUCTION USE! PLEASE READ EACH STEP CAREFULLY!
In order to log into MariaDB to secure it, we'll need the current
password for the root user. If you've just installed MariaDB, and
haven't set the root password yet, you should just press enter here.
Enter current password for root (enter for none):unix_socket authentication method:
OK, successfully used password, moving on...

Setting the root password or using the unix_socket ensures that nobody
can log into the MariaDB root user without the proper authorisation.

You already have your root account protected, so you can safely answer 'n'.

Switch to unix_socket authentication [Y/n]unix_socket authentication is an alternative method that would tie MariaDB authentication to system user accounts. Since you're already using password authentication and it's working properly, there's no need to switch to unix_socket authentication.
In the context of a standard LAMP installation with MariaDB on Ubuntu, we typically want to:
- Keep using password authentication since it's more flexible and commonly used in LAMP setups
- Maintain compatibility with web applications that expect password authentication
- Allow for remote database connections if needed (which
unix_socketmakes more complex)
unix_socket authentication has its merits and can be more secure in certain scenarios, for a typical LAMP stack installation, we should answer 'n' to keep using password authentication. This maintains better compatibility while still being secure when properly configured.
Next, you'll be asked to change the root password:
Enabled successfully!
Reloading privilege tables..
 ... Success!

Change the root password? [Y/n]
Continue reading this article
by subscribing to our newsletter.
Subscribe nowby subscribing to our newsletter.
A note about tutorials: We encourage our users to try out tutorials, but they aren't fully supported by our team—we can't always provide support when things go wrong. Be sure to check which OS and version it was tested with before you proceed.
If you want a fully managed experience, with dedicated support for any application you might want to run, contact us for more information.