
Looking for a tutorial on how to install Nextcloud on Debian 12 and secure it with a Let's Encrypt SSL certificate? You're in the right place!
Nextcloud is an open source platform that offers a modern content collaboration platform for managing your files, with capabilities such as real-time document editing, video chat & groupware on mobile, desktop and web. Nextcloud is similar to Dropbox and Google Drive, and was forked from the ownCloud open source software by some of the original ownCloud developers.
Installing Nextcloud on Debian 12 with Let's Encrypt
To install Nextcloud on Debian 12 with a Let's Encrypt certificate, you'll first update the package index, install the Snap package manager for Debian, use it to install Nextcloud, configure a Nextcloud administrative account, then you'll set up Let's Encrypt using the nextcloud.enable-https command.
Note
If you want to skip all the technical steps of setting up Nextcloud on your server and have it installed in minutes, you can use our tried and tested 1-click Nextcloud application. Just choose a server, and while prompted to choose the operating system, choose Nextcloud from the dropdown menu. This will set up Nextcloud in minutes! However, if you prefer to get your hands dirty, keep reading.
Prerequisites
To follow this tutorial, you'll need:
- A Debian 12 server. Get your VPS hosting from a reputable and trustworthy provider like SSD Nodes. We offer powerful Debian servers and the best deals. Take a look at our offerings and prepare for your mind to be blown 🤯.
Check out our How to access your server using SSH guide to learn how to access your server and create a sudo user.
Step 1: Updating the Package Cache
Start by updating the packages in the package manager cache to the latest available versions using the following command:
sudo apt updateStep 2: Installing Nextcloud on Debian 12
To install Nextcloud, we can take advantage of the Snap packaging tool, which allows software organizations to publish software in a single package with all dependencies, configurations, and auto-updating features.
First, install the Snap packaging tool with the following command:
sudo apt install snapd -yRun the following command to install the Nextcloud snap package:
sudo snap install nextcloudThis will download and install Nextcloud on your system, and you will receive an output similar to the following:

To confirm that the installation was successful, run the following command:
snap changes nextcloudYou should receive the following output:

For more information on the Nextcloud package, you can use the following command:
snap info nextcloud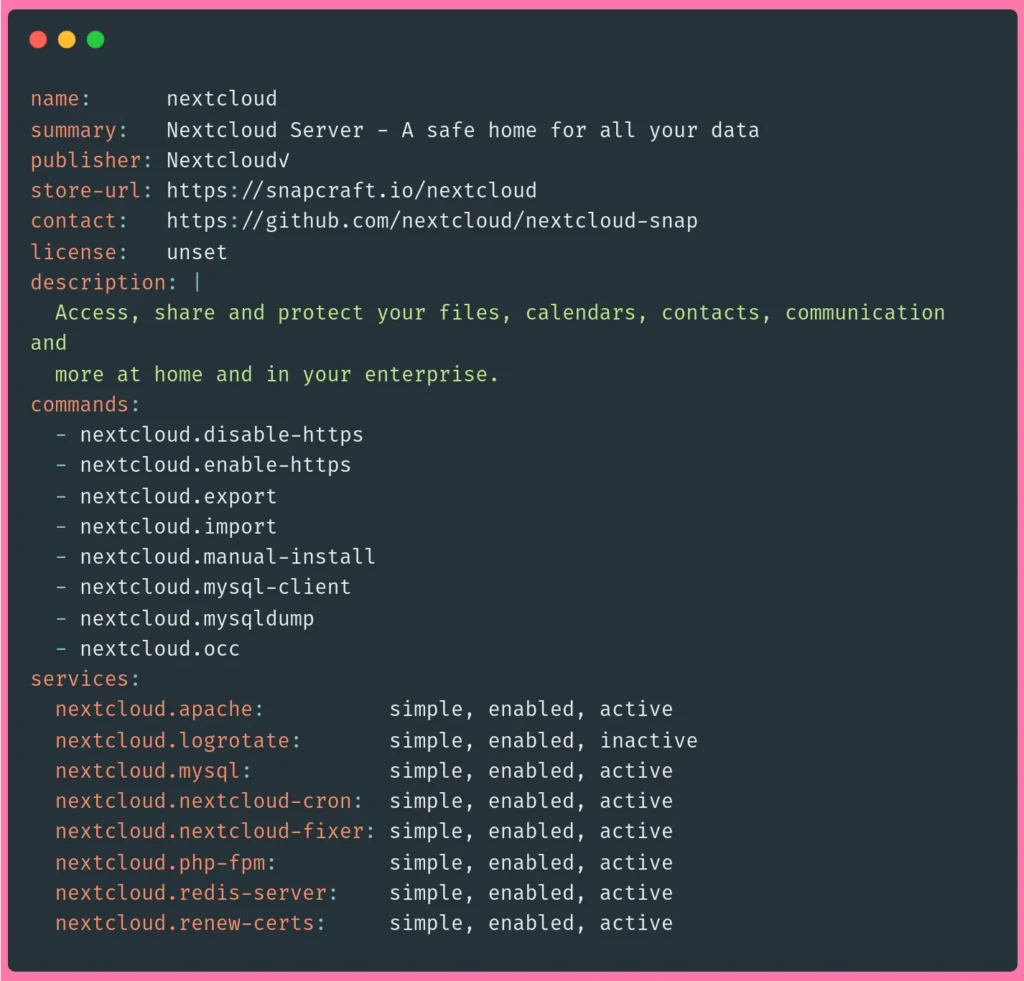
This will give you information such as the publisher, contact information, commands, services, and other metrics.
Step 3: Configuring your Nextcloud Administrative Account
Although you can configure your Nextcloud admin account on the web interface, it is best to avoid making your unsecured Nextcloud configuration accessible on the Internet.
You can use the nextcloud.manual-install command to configure a Nextcloud admin account directly from the command line by passing it a username and a password like so:
sudo /snap/bin/nextcloud.manual-install your_user passwordMake sure to replace your_user and your_password with your preferred username and password.
As a result, you should see the following output:
Nextcloud was successfully installedWith this, you now need to add your server's domain name and IP address to your Nextcloud trusted domains.
Step 4: Configuring Trusted Domains
By default, Nextcloud only responds to web requests that are sent to the localhost hostname. This makes us unable to access Nextcloud via our server's IP address or our domain name. To solve this and make Nextcloud accessible to the outside world, we’ll need to change the trusted domains setting.
To add an additional trusted domain to Nextcloud on Debian, run the following command:
sudo /snap/bin/nextcloud.occ config:system:set trusted_domains 1 --value=example.comRepeat this command for each domain name of yours with an incremented number, and make sure to replace example.com with your domain name or IP address. For example to add another domain:
sudo /snap/bin/nextcloud.occ config:system:set trusted_domains 2 --value=cloud.example.comAnd to add your IP address:
sudo /snap/bin/nextcloud.occ config:system:set trusted_domains 3 --value=your_ip_addressNote the increments in the trusted_domains parameter.
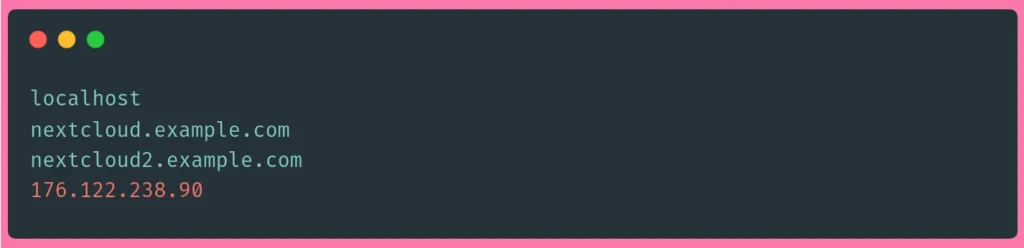
To see all your trusted domains, use the following command:
sudo /snap/bin/nextcloud.occ config:system:get trusted_domains
Next, you'll secure your Nextcloud web server using HTTPS with a Let's Encrypt SSL certificate.
Step 5: Nextcloud Let's Encrypt Setup on Debian
To secure your Nextcloud server with HTTPS, add a Let's Encrypt SSL certificate to your installation using the following command:
sudo /snap/bin/nextcloud.enable-https lets-encryptYou'll be presented with a few requirements:
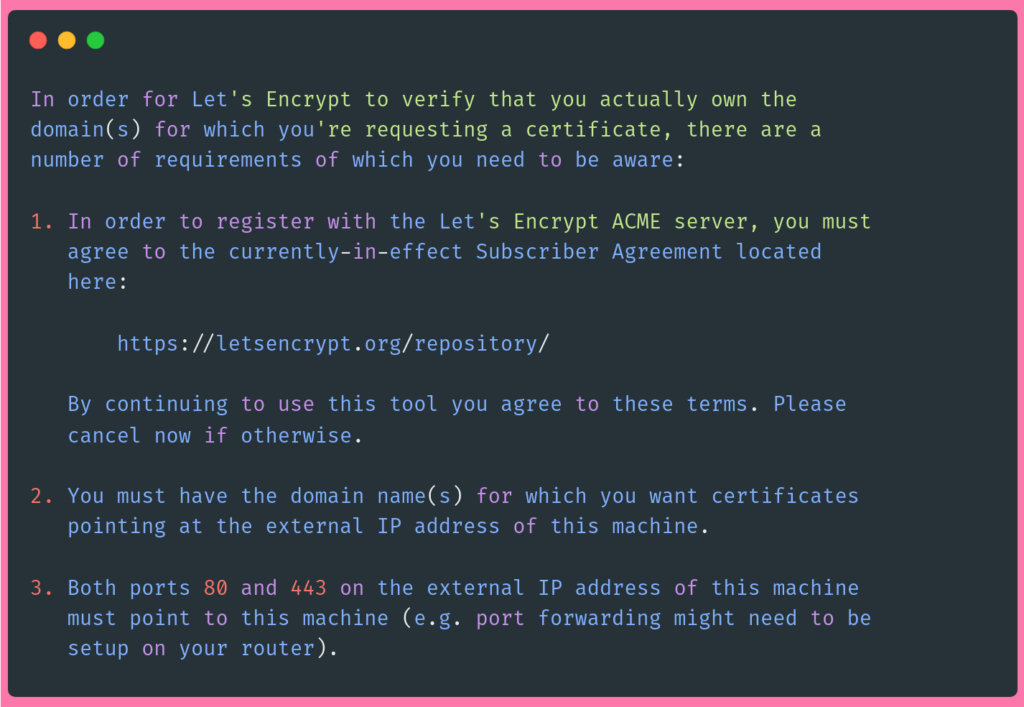
Make sure your server meets these requirements and hit Y. Next, type in your email and domain name.
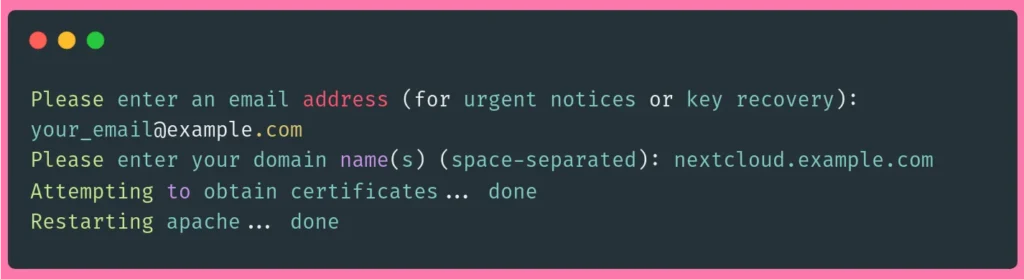
Restart Nextcloud:
sudo snap restart nextcloud
With this, you can now access your Nextcloud server throughout the Web via a secure HTTPS protocol.
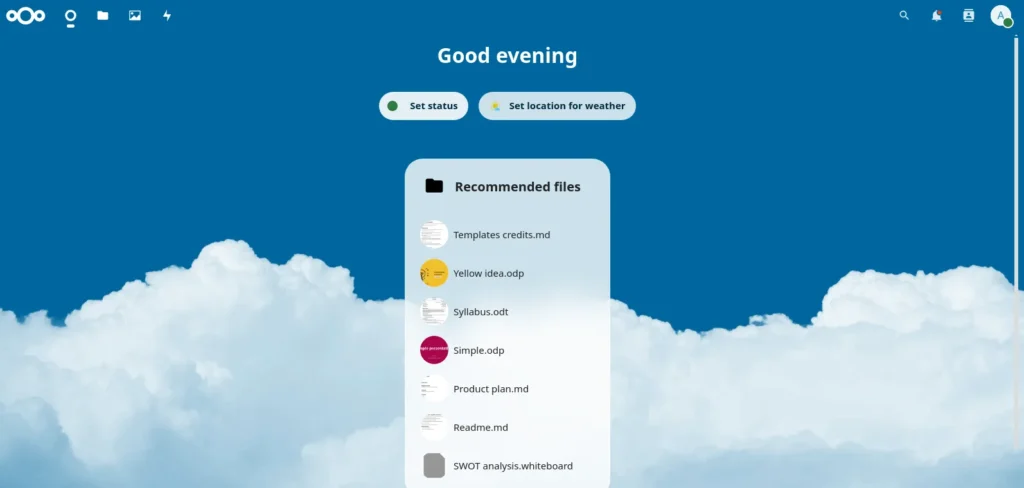
Step 6: Using the Nextcloud Web Interface
With Nextcloud configured, navigate to your domain name or IP with your web browser:
https://your_domain_or_IPNote: You may temporarily see a message informing you that Nextcloud is in Maintenance Mode, wait for a few minutes while Nextcloud sets things up, and refresh the page.
You should be moved to a login screen. Use the username and password you configured earlier.
Congrats
You've successfully installed Nextcloud on your Debian 12 server, and secured it with a Let's Encrypt SSL certificate. You can now upload your files and collaborate with others on the cloud, using your own private VPS server.
For more on information on Nextcloud, check out their official website
Reader Alert!
If you feel that the technical instructions in this tutorial are time-consuming, or beyond your expertise, you can choose a very convenient and practical solution, ready-made, fully and professionally tested, and developed by SSD Nodes (That is us 😊). Just visit our website, choose the server’s specifications that fit your needs, and while prompted to choose among the operating systems and the 1-Click Applications we have, choose Nextcloud from the dropdown menu, complete your checkout, and in a couple of minutes our algorithms will take care of all the technical aspects smoothly and effortlessly, just for you!
Installing Nextcloud on Ubuntu
To install Nextcloud on Ubuntu, take a look at our How To Install and Configure Nextcloud on Ubuntu article.
FAQ
Does Nextcloud support end-to-end encryption?
Yes, Nextcloud supports end-to-end encryption for securing data. This feature encrypts files on the client side before they are uploaded to the server, ensuring that only the user has access to the unencrypted data.
What are the best practices for Nextcloud backups?
Regularly back up the Nextcloud data directory and database. Use tools like rsync for file backups and mysqldump for database dumps. Automate the process and store backups in a separate, secure location.
A note about tutorials: We encourage our users to try out tutorials, but they aren't fully supported by our team—we can't always provide support when things go wrong. Be sure to check which OS and version it was tested with before you proceed.
If you want a fully managed experience, with dedicated support for any application you might want to run, contact us for more information.