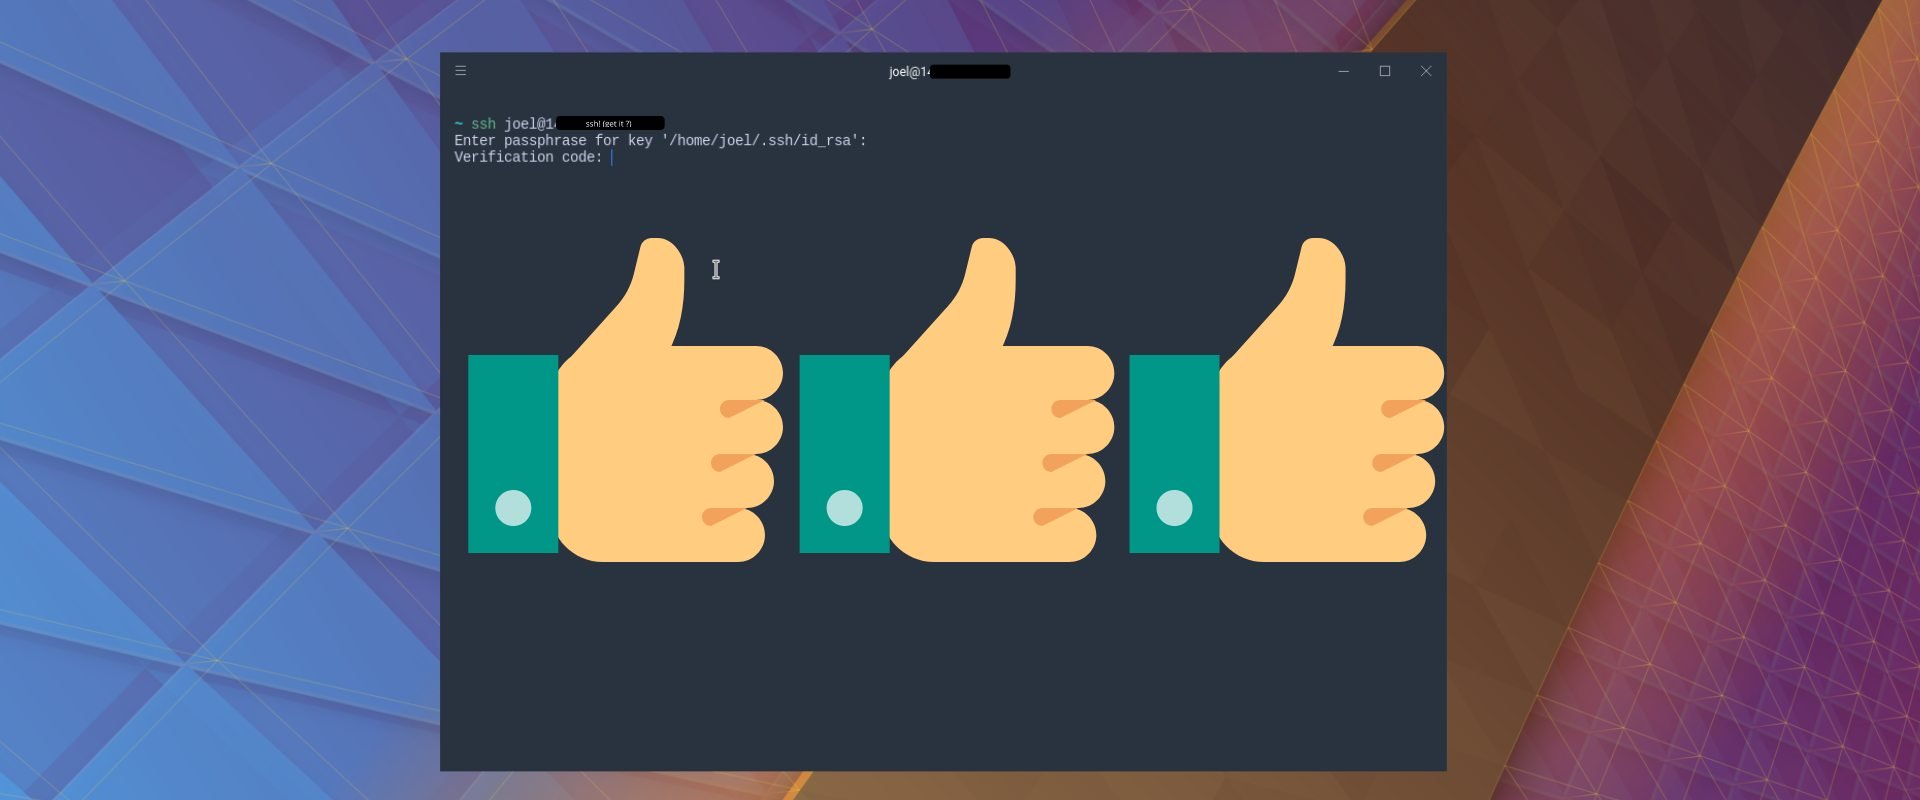
Sometimes, you want to be doubly sure that no one can get access to your VPS but you. If two-factor authentication (2FA) can work for a dashboard, why not for a VPS? In this tutorial, we'll talk about enabling SSH two-factor authentication (2FA) on an Ubuntu 16.04 VPS, via Google Authenticator (or another 2FA app of your choice) so that you can put another layer of protection on your VPS.
It's important to note that the most common and recommended method of securing SSH-based logins is SSH keys, and we heartily recommend you use them on all your VPSs.
For the sake of explaining how SSH two-factor authentication works, we'll start with using 2FA to protect an SSH configuration that uses passwords, not SSH keys. We'll follow that up with a recommendation on how you might use both SSH two-factor authentication and SSH keys for a rock-solid (and perhaps overkill) triple-factor SSH authentication.
Updated on May 25, 2018!
Prerequisites
- A VPS running Ubuntu 16.04
- A non-root,
sudo-enabled user. If you only have arootuser, see our SSH tutorial for details on creating new users.
[cta_inline]
Step 1. Installing Google Authenticator on the VPS
First off, you need to install the Google Authenticator program and run it as the user you're going to log in with—preferably not the root account.
$ sudo apt-get install libpam-google-authenticator
$ google-authenticator
You'll first be prompted as to whether or not you want to use time-based tokens. The other option is one-time tokens, which is probably not what you want. Type y to use time-based tokens.
Do you want authentication tokens to be time-based (y/n) y
Once you confirm time-based tokens, you'll see a large amount of output on your terminal. This will include the QR code that you can use with Google Authenticator (or another similar program), or a secret key that you can enter in manually if your device can't scan QR codes.
Once you've set up the token on your mobile device, you can take a look at the secret keys that the program generates, along with emergency scratch codes, which you can use once if you lose that device.
There are a few more questions to answer—the first of which is whether you want to save the Authenticator settings. Answer in the affirmative.
Do you want me to update your by subscribing to our newsletter.
A note about tutorials: We encourage our users to try out tutorials, but they aren't fully supported by our team—we can't always provide support when things go wrong. Be sure to check which OS and version it was tested with before you proceed.
If you want a fully managed experience, with dedicated support for any application you might want to run, contact us for more information.


